

Windows 10 Development Environment for Ruby on Rails
Ubuntu 20.04 running on WSL2

Get it?
Install Windows Subsystem for Linux
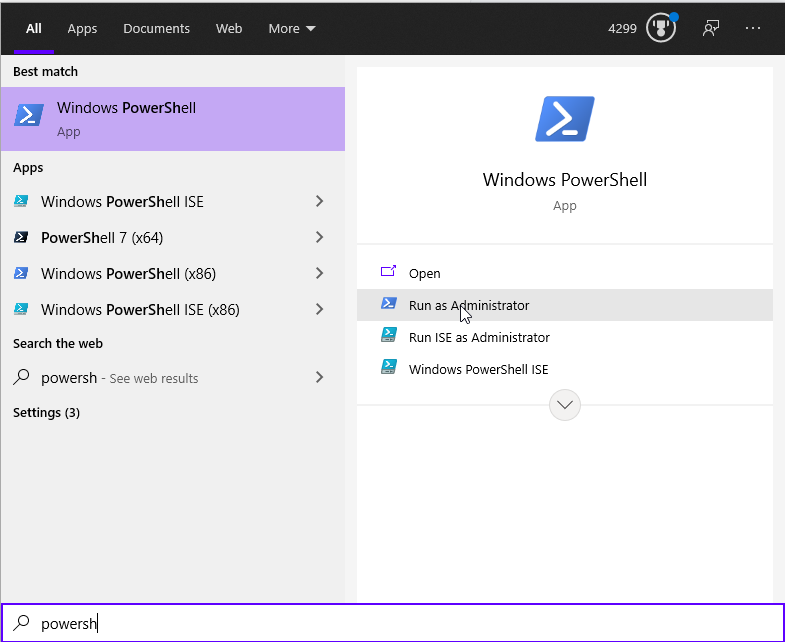
Press the start key and type "powershell". Right click and select "Run as administator," or select that option in the right menu.
In the powershell window that pops up, enter the following:
dism.exe /online /enable-feature /featurename:Microsoft-Windows-Subsystem-Linux /all /norestart
In the same window or a new administrator window, run:
dism.exe /online /enable-feature /featurename:VirtualMachinePlatform /all /norestart
Once you have run both commands, restart your computer and let it install the required features.
After logging back in, download and run the latest Linux kernel update for WSL.
Once installed, open Powershell (admin) back up and enter
wsl --set-default-version 2
Install Linux
You are ready to install a Linux distro now. For simplicity's sake this guide will stick with Ubuntu. The easiest way to obtain Ubuntu is through the Microsoft Store. If you would rather not use the store, you can also use a package manager such as winget. I recommend winget either way as it's a useful tool for software installs. Note that if you are not signed up for an insider build of Windows you will need to download through the github repo I linked. If you've opted in to insider builds through your upgrade options you can install the "App Installer" through the windows store. The main benefit of using the store is for automatic upgrades
If you decide to install Ubuntu via winget you can do so by running the following command:
winget install -e --id Canonical.Ubuntu
Once installed, you can find it under Ubuntu like any other program. Run Ubuntu from the start menu once to let it finish installing. Go ahead and create a user and give it a password before exiting.
Install Windows Terminal
As with Ubuntu, use the store or the following winget command (in Powershell as admin):
winget install Microsoft.WindowsTerminal
Once installed, pin it to the start menu for easy access.
Install Visual Studio Code.
winget install Microsoft.VisualStudioCode
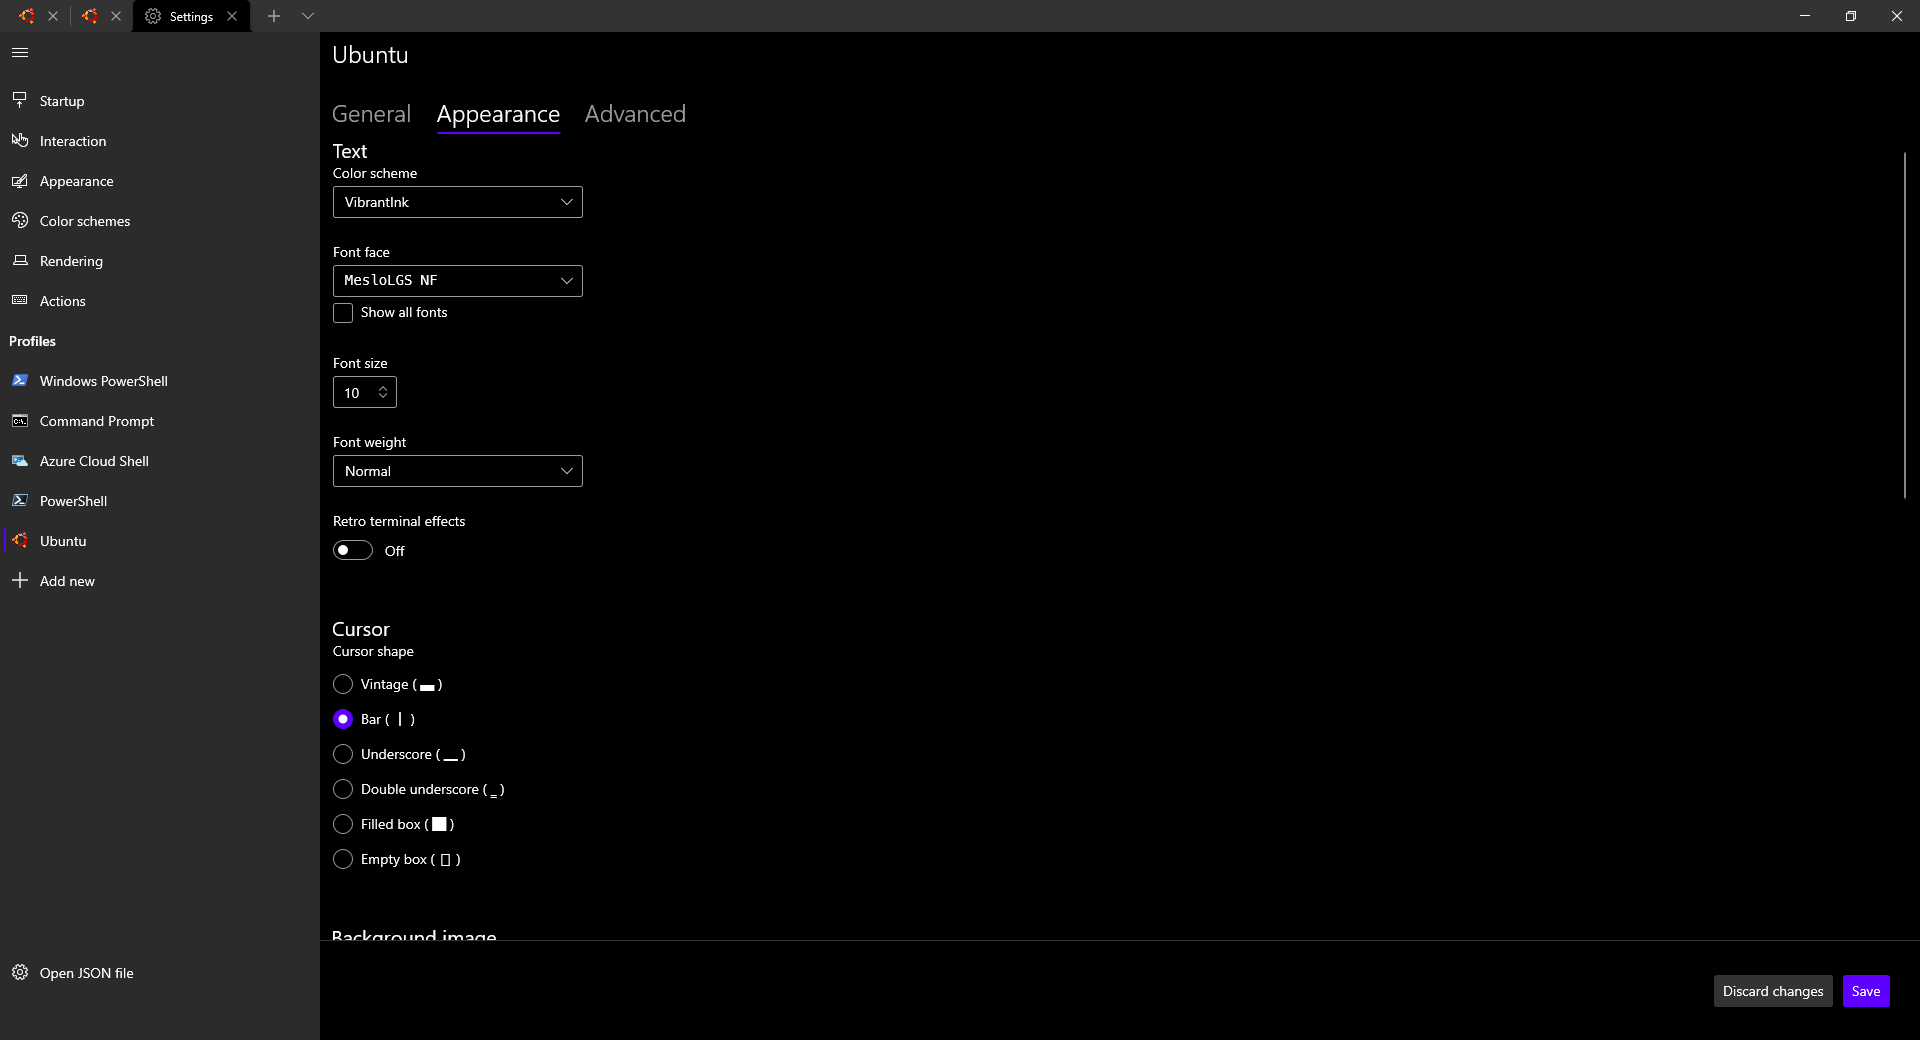
Open Windows Terminal and click the dropdown arrow followed by settings.
Change your default profile to Ubuntu (unless you'd rather not of course). I also recommend changing the starting directory to the home directory for the user you created under general.

Customizing your terminal (optional)
If you'd like to use glyphs to deck out your terminal prompt install this font. You can use any nerd font with glyphs, but this one comes recommended from a number of sources.
In the settings for Terminal select Ubuntu under Profiles and change the font face to MesloLGS NF.
You can find a slew of Terminal themes here. Once you've found one you like and clicked "get theme", select "Open JSON file", scroll to the bottom, and insert a comma after the curly brace ending the last set of colors, insert a new line, and paste your theme.
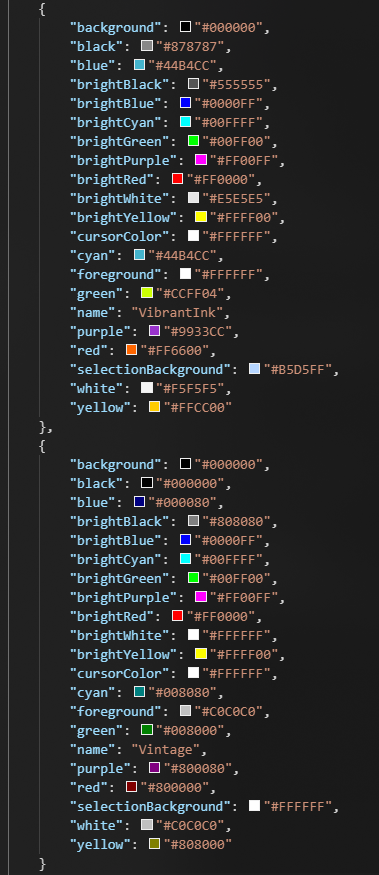
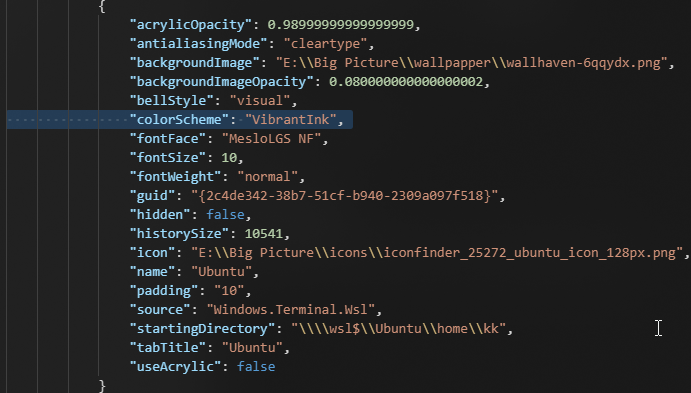
In the image above, the set at the top is the theme that was in the file already and the new theme is at the bottom. Now scroll back up and find your Ubuntu profile, and set a variable "colorScheme: TheThemeYouPicked".
Save your settings and re-launch your terminal.
Setting Up Ubuntu
First thing I always do on a fresh install is run the updates.
sudo apt update && sudo apt upgrade -y
Once that's finished, I install my preferred shell which is fish. I use the nightly builds but you can switch to beta-3 or release-3
sudo apt-add-repository ppa:fish-shell/nightly-master
sudo apt update && sudo apt install fish -y
Then I make it my default
chsh -s /usr/bin/fish
Next I make sure curl and git are installed
sudo apt install curl git -y
And I install asdf-vm for version management of a lot of software.
git clone https://github.com/asdf-vm/asdf.git ~/.asdf --branch v0.8.1
echo "source ~/.asdf/asdf.fish" >> ~/.config/fish/config.fish
mkdir -p ~/.config/fish/completions; and ln -s ~/.asdf/completions/asdf.fish ~/.config/fish/completions
Open a new terminal tab and close the old one.
Now to ensure Ruby's dependencies are installed.
sudo apt install zlib1g-dev build-essential libssl-dev libreadline-dev libyaml-dev libsqlite3-dev sqlite3 libxml2-dev libxslt1-dev libcurl4-openssl-dev software-properties-common libffi-dev
This one's a bit large, so take a coffee/tea break while it wraps up. Once it's finished we can install the remaining tools with asdf
asdf plugin add ruby
asdf install ruby latest
asdf global ruby latest
asdf reshim
Then restart your terminal/open a tab and close the old. Repeat the above steps replacing ruby with nodejs and yarn or scroll down and grab my function to make it slightly easier (you can wait until after installing and setting both globally to restart your terminal session). Now:
gem install rails
This will also take a while. Rails is actually a whole bunch of ruby gems wrapped into one. Once it's finished you're set. You can use
rails new foobar
to create your first rails project.
Finishing touches (optional)
Why not make your life easier and your terminal experience a little more enjoyable with some extras? For starters grab the fisher plugin.
curl -sL https://git.io/fisher | source && fisher install jorgebucaran/fisher
Now install either the tide prompt or hydro. I switched to hydro because I was encountering a bug with tide.
fisher install ilancosman/tide
fisher install jorgebucaran/hydro
If you install tide, you'll be walked through a configuration. Hydro is more minimal, although it can be customized by editing ~/.config/fish/conf.d/hydro.fish
Speaking of editors, I like to use micro.
cd /usr/local/bin
curl https://getmic.ro | sudo bash
Next, some quality of life tools. I've written a sloppy function here as a shortcut for installing things with asdf if you'd like to use it.
cd ~/.config/fish/functions
curl -O https://raw.githubusercontent.com/kendofriendo/fish_functions/main/fdsa.fish
Refresh the shell and simply type fdsa followed by the program.
fdsa fd
fdsa bat
fdsa fzf
Once these three are installed, add the fzf fisher plugin
fisher install PatrickF1/fzf.fish
This lets you easily search and display all sorts of information in an easily visually grepable way.
It's up to you what to install from here on. Give this list a look for fisher plugins, and you can check out the asdf plugins here.
I'd keep things minimal and add plugins whenever you feel like you need them. One not listed though is fish ssh-agent.
fisher install danhper/fish-ssh-agent
Closing Thoughts
One thing to keep in mind is that Fish can be finnicky about bash scripts. If you run into any issues, you can simply run bash, run the script, and then exit out back to fish. Fish is backwards compatible insofar as any changes you make while in bash/zsh or to your .bashrc or .zshrc files will automagically be recognized and carried over to fish.
Docker also now not only has a desktop client for Windows, but integrates with WSL. Docker's a whole subject of its own, but it's nice to keep in mind.
Lastly, keep your stuff backed up!
wsl --export Ubuntu-20.04 ubuntubackup.tar
Will output the whole Ubuntu system you've configured into an easily manageable tar file. If you don't have an external drive (consider getting one first of all) you can upload your backup to a cloud storage provider. If google's isn't big enough, mega offers 50GB and degoo offers 100GB. I'm not linking to these companies directly, as I'm not affiliated with them but I have full confidence in your ability to use a search engine.
Once you've got the file, you can replace the export with import to restore the back up. For bonus points, set up a recurring job that re-runs the export and syncs it to a cloud service. Another post for another time.
Enjoy.

